The coding programme that we have learnt this week is called Three.js playGnd which uses open streamed code to allow users to create WebGL animations without the need for additional plug-ins.
We were tasked to experiment with this programme and to develop interesting compositions. The whole idea behind Three.js playGnd is to augment the code in the fact that the user can visually see the code changing whilst designing their respective animations. This in turn helps to better understand what lines of code are used for and how they contribute to the animation as a whole. My first experiment is archived at the following address:
http://threejsplaygnd.brangerbriz.net/s/?id=1188
The design process to end up at the above final video:
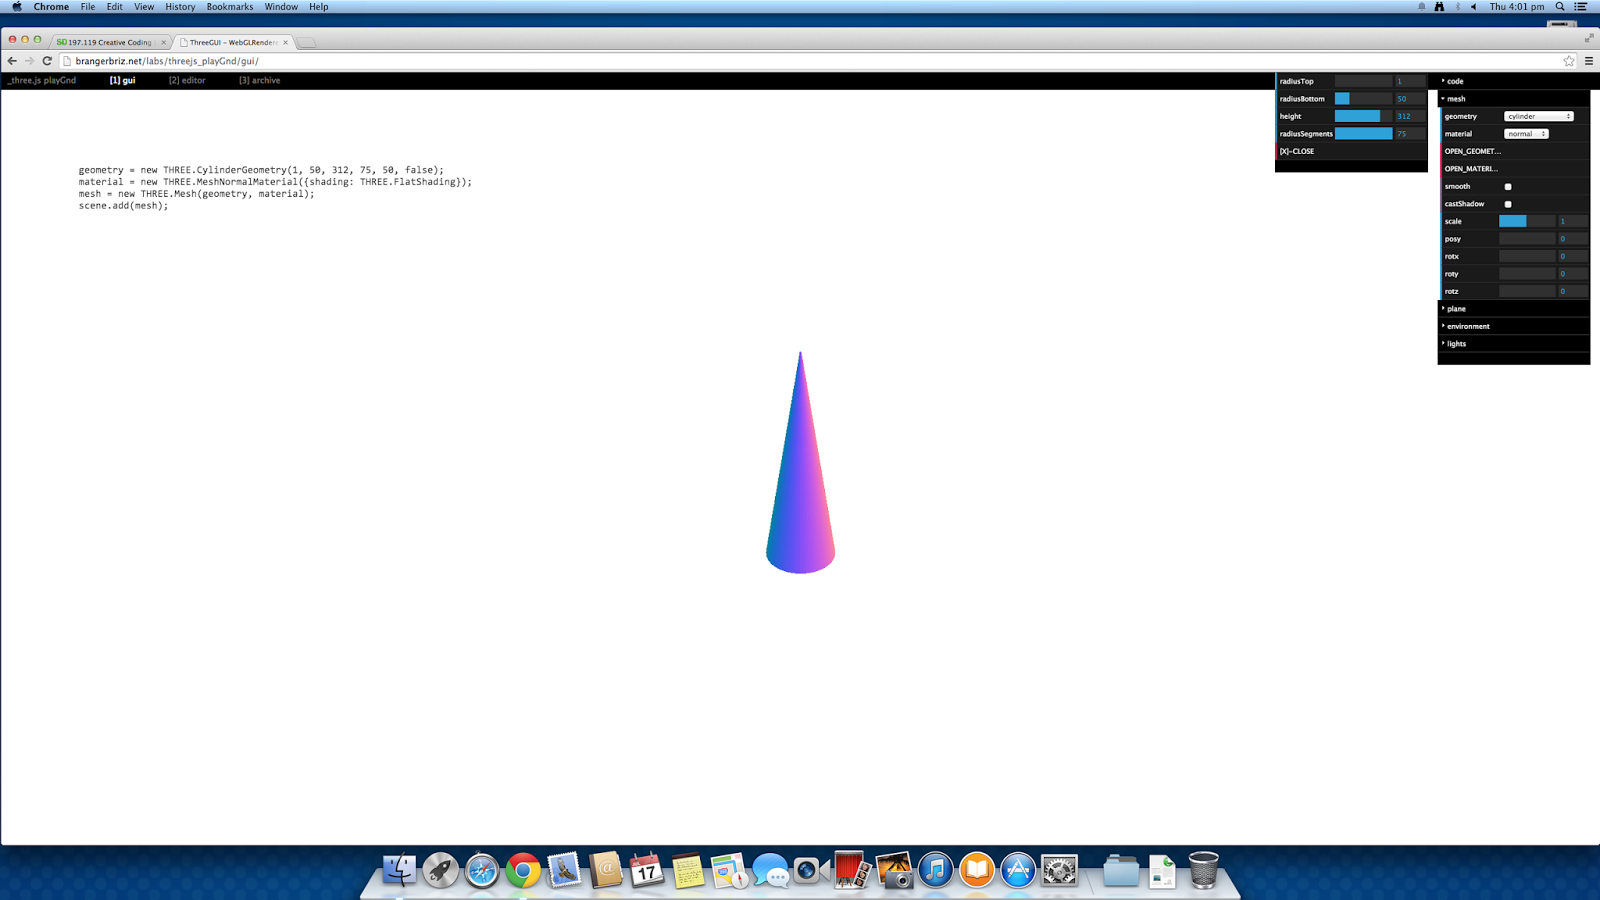
The geometry I chose to start with on this composition was a cylinder. I then began to play around with the radiustop, radiusbottom and height sliders to create different shapes like the one above. I also wanted my geometry to be very smooth on its curved faces, thus I increased the radius segments up to 75.
I then began to think about possibly making a coned shape. Therefore I played around with the sliders again accordingly to do just this.
I wanted to emphasise the conical shape, therefore I decrease the top radius to 1 and increased the bottom radius to 117. This is what created the basis of my progression to my final composition.
I wanted to see what this conical geometry looked like as a wireframe instead of faces. Due to the fact that I increased the radius segments to the max, this increased the amount of lines in the wireframe. The more complicated looking, the better ;)
Screenshot of my geometry code pasted into the editor side of the programme.
I then added a snippet in which rotates my geometry around the x, y and z-axis randomly.
I felt that spinning my conical geometry was not effective enough and needed a more complicated mesh in order to create a more mesmerising sight. Therefore I went back to adjust my geometry accordingly. The first thing I changed was from being based on a cylinder, to a torus. A torus is basically a donut shaped geometry. I then began to fiddle around and experiment with the sliders to create a geometry of that which is above. I felt that this was very interesting, especially when I made it wireframed.
I then copied the new code into the editor like before and changed the background colour from white to black. This really made my wireframe geometry 'pop' on the screen.
Screenshot of what my geometry looked like mid-spin.
Like my previous composition, I added the mesh trial snippet. Being wireframed and with the normal material on my geometry, how the various colours intwined was quite beautiful.
A couple of screenshots of my geometry with the trail snippet on.
I liked the previous screenshots, however I felt that it could look a lot more interesting if I changed the camera perspective so that the viewer was looking at the inside of the geometry. This is the most effective part in the mesh as it spins - thus I wanted it to be the focus. Hence I changed the camera perspective from ( 50, W/H, 1, 10000 ) with a camera position of 500 (on the z-axis) to: (1000, W/H, 1, 500) and the camera position of 200.


No comments:
Post a Comment